What are Custom Payment Providers in SaaS Mode?
Custom Payment Providers in SaaS Mode empower users to select and integrate the payment provider that best fits their market needs. By leveraging this feature, users can automate account creation during checkout, attach SaaS plans seamlessly, and manage recurring billing and wallet recharges, all while tapping into a diverse range of global payment solutions.
Key Benefits of Custom Payment Providers in SaaS Mode
This feature drives efficiency and global reach by providing a tailored payment experience for SaaS businesses.
Offers users the flexibility to choose from 50+ payment providers in the Marketplace.
Unlocks global adoption in regions underserved by native payment integrations.
Automates account creation and seamless SaaS plan attachment during checkout.
Supports recurring subscription billing to maintain reliable revenue streams.
Enhances the Marketplace ecosystem by enabling add-on reselling.
Set up SaaS Mode with Custom Payment Providers
Getting set up is a straightforward process that ensures your custom payment integration is ready to drive global SaaS success.
Step 1: Mark an Account
- From your account's view, go to Accounts.
- Find the account you want to use as your billing account.
- Click the three-dots menu → Add as your account.
- This account will now serve as your primary account, where you’ll install payment providers, create SaaS products, and handle checkouts.

Step 2: Install a Payment Provider App
- Go to the App Marketplace from your account view.
- Search for and select the payment provider app you’d like to use. You can also search for payment providers under categories.
- Click Install and add it to your account.

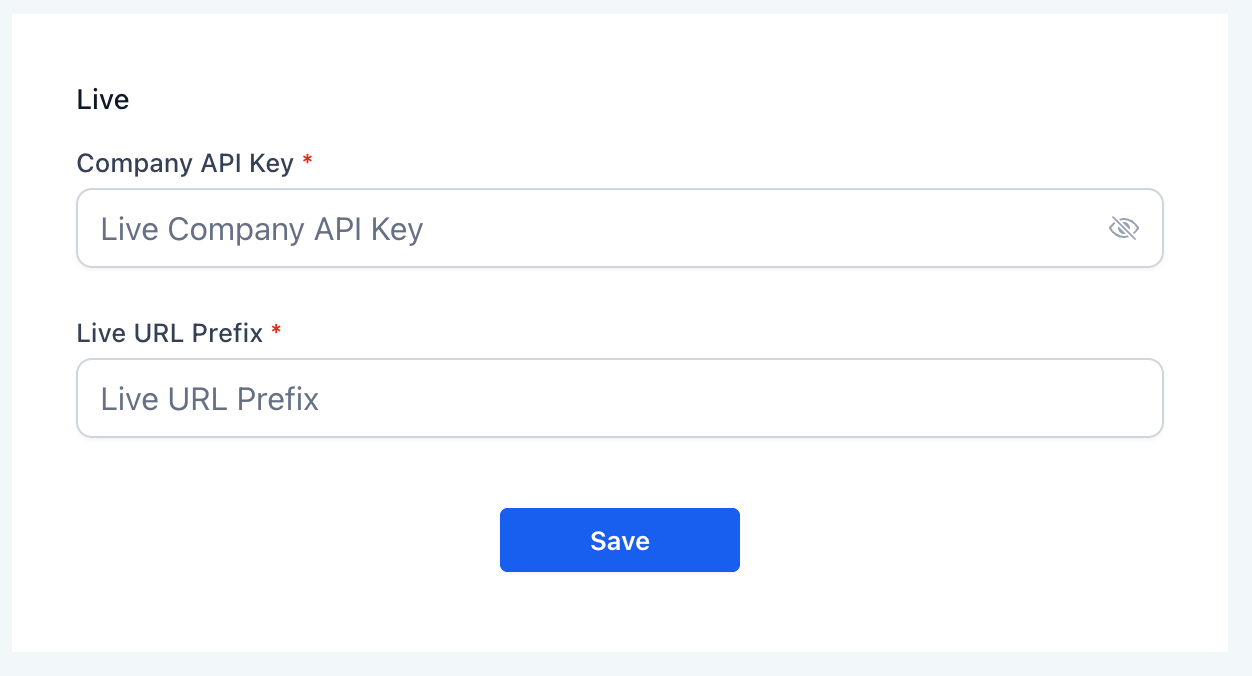
Step 3: Configure the Integration
- After installation, go to the provider’s settings.
- Enter the required details, typically:
- Account ID
- Authorization / API token
- Save your configuration.
Note: Each provider’s requirements may vary slightly. Refer to the app’s documentation for exact fields.Step 4: Create and Sell SaaS Products
- In your account, create a SaaS product.
- Share the payment link or embed the checkout in funnels.
On successful checkout:
A new account is automatically created.
The selected SaaS plan is attached to it.
For more, refer to the Guide to SaaS Plan Creation, Sales, and Customer Onboarding and SaaS Mode - Full Setup Guide + FAQ.
Step 5: Convert Existing Accounts to SaaS
- From your account view, go to Accounts → Manage Client.
- Navigate to SaaS → Add SaaS Subscription.
- Select the integrated payment provider.
- Choose the SaaS plan to apply, then confirm.
For more, refer to Convert Existing Account to SaaS Mode Subscription Plan.
Step 6: Wallet & Add-On Handling
Wallet Top-Ups: Supports both auto-recharge and manual recharge.
Add-On Reselling:
Add-ons like AI Employee, WordPress, and Marketplace Apps can be sold.
Payment for add-ons is deducted from the account wallet (not charged directly to the card).
For more, refer to SaaS Wallet Credit Management - Account Level.
Frequently Asked Questions
Q: What are Custom Payment Providers in SaaS Mode, and why are they important?
This feature lets businesses integrate their chosen payment provider to automate tasks such as account creation, recurring billing, and wallet management—enhancing flexibility in global SaaS deployments.
Q: Which payment providers are compatible with this feature?
Only providers that support recurring payments and off-session charging are compatible. Providers like Razorpay, which do not support these functionalities, are not supported.
Q: How does recurring subscription billing work with a custom payment provider?
Once set up, the system securely stores customer payment methods and automatically processes recurring charges for SaaS plans, ensuring uninterrupted service and revenue flow.
Q: Can I convert an existing account to use a custom payment provider?
Yes. Existing accounts can be converted by navigating to your account → Accounts → Manage Client → SaaS → Add SaaS Subscription and selecting the integrated payment provider along with the desired plan.
Q: Where can I find additional setup guidance?
For more detailed instructions, please refer to the platform’s support documentation on Custom Payment Providers.
Was this article helpful?
That’s Great!
Thank you for your feedback
Sorry! We couldn't be helpful
Thank you for your feedback
Feedback sent
We appreciate your effort and will try to fix the article